The 3020 Project: a TL-MR3020 Hacking continuation
I - Beyond the Basics:
In My Last Post, we covered the essentials: flashing OpenWrt, setting up serial access, and using a USB drive to give the TL-MR3020 some actual storage breathing room . We successfully turned a travel router into a functional, headless Linux server.
But let’s be honest… a headless server is boring.
I didn’t just want a box that blinks in the corner. I wanted a computer. I wanted a display, I wanted to type, and I wanted to interact with the physical world. The problem? The TL-MR3020 has no video output, no sound, and extremely limited GPIO.
So, I decided to build a distributed system where the router acts as the central controller, orchestrating a network of specialized devices to overcome its own hardware limitations.
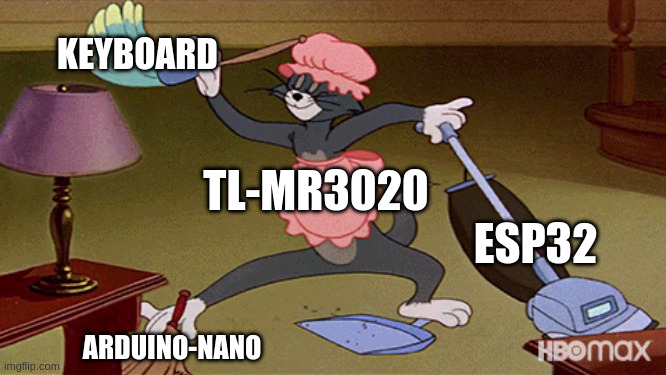
II - The Architecture:
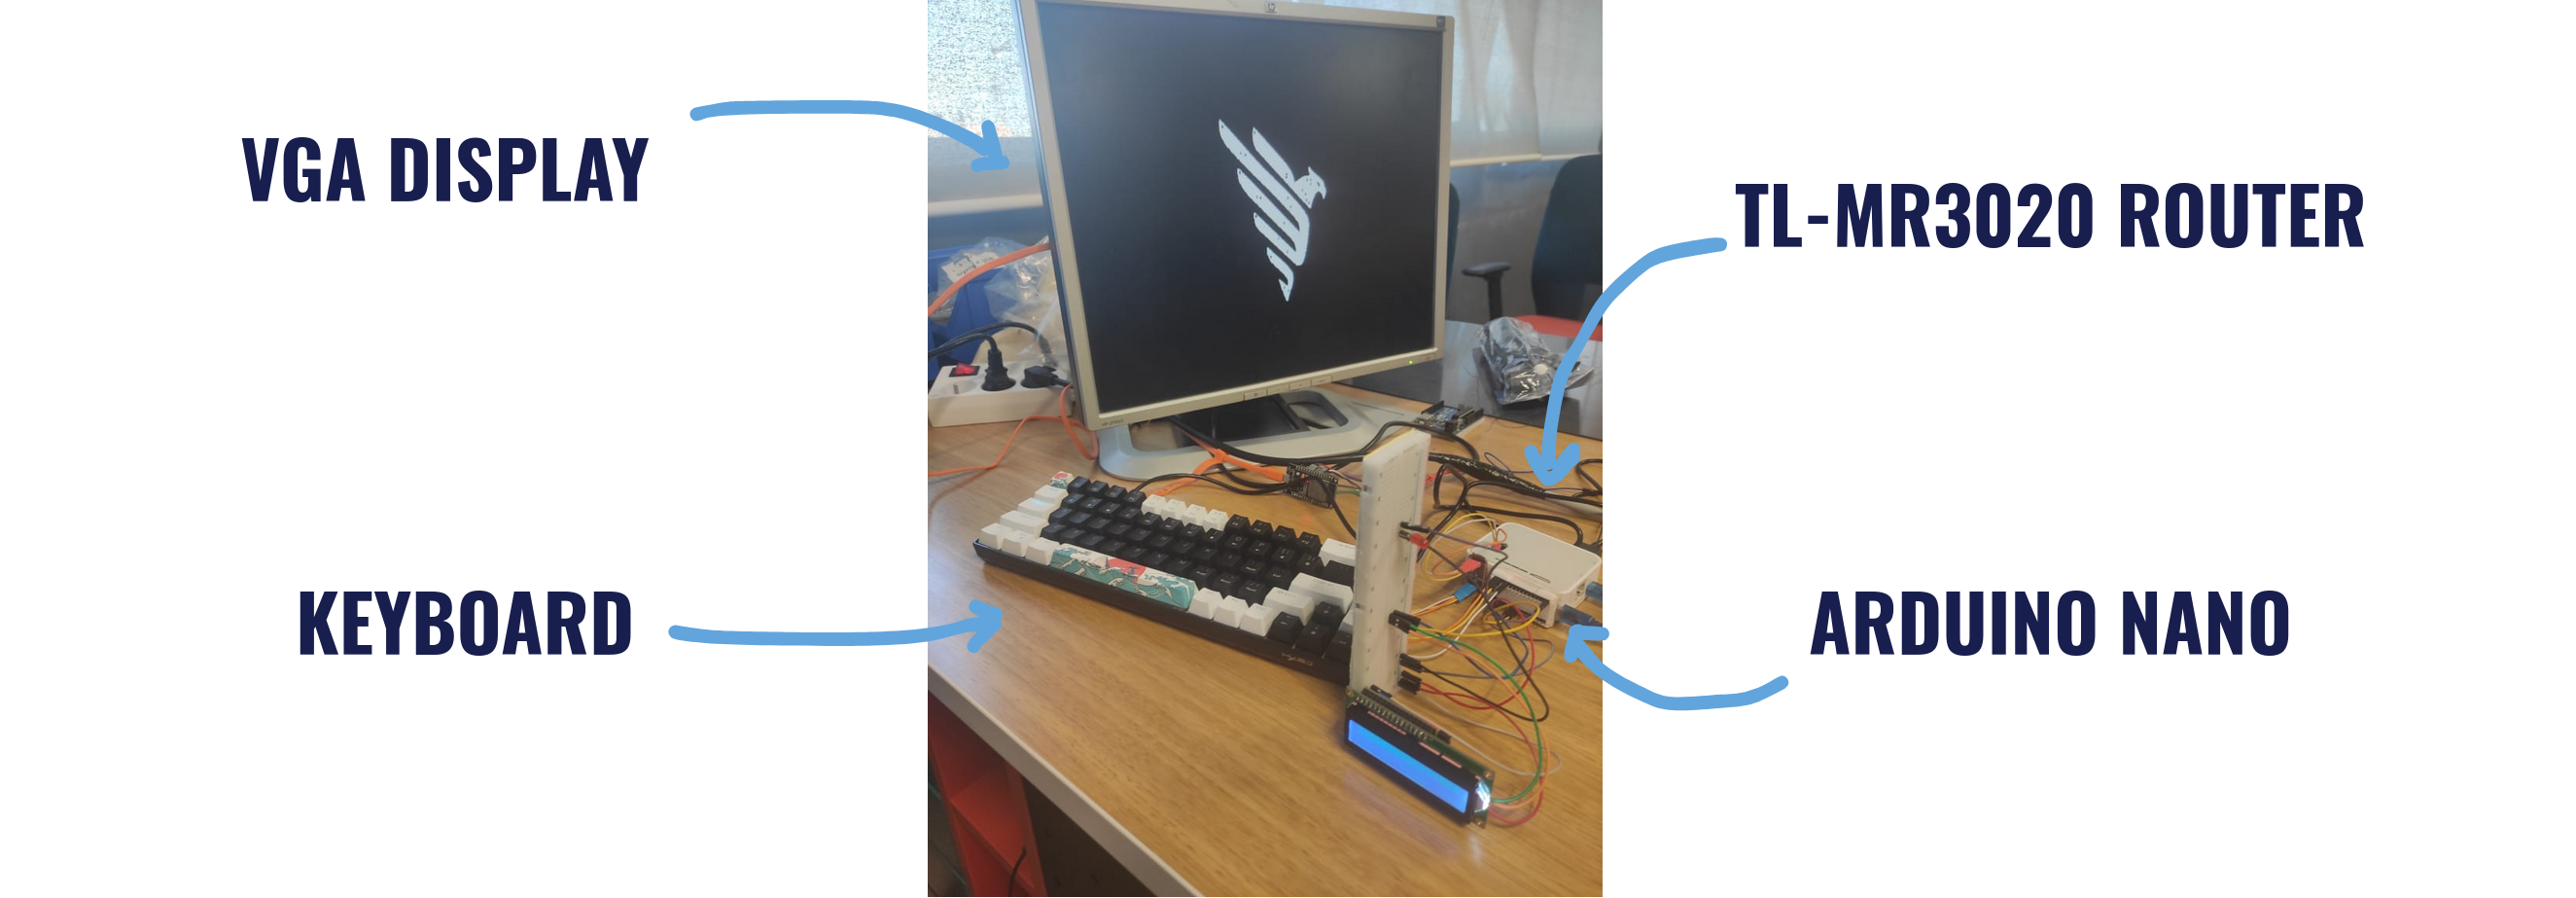
Instead of forcing the router to do tasks it wasn’t designed for (like generating video signals), I built a system where every component has a specific job. The architecture transforms the router into a central hub connecting three distinct modules :
1- The Core (TL-MR3020): Runs the OS (OpenWrt) and manages the system logic.
2- The Graphics (ESP32): Drives a VGA monitor via a TCP/IP connection.
3- The I/O controller (Arduino Nano): Handles physical sensors and actuators, while communicating with the Tl-MR3020 via serial.
4- The input (USB Keyboard): Provides the user interface.
III - The “Graphics Card”: ESP32 & VGA
This was the biggest technical hurdle. Generating a VGA signal requires precise, microsecond-timing that a Linux router simply cannot handle without crashing or freezing.
The solution? Outsource the rendering. I used an ESP32 running a custom firmware I wrote called ESP-VGA-Displayer. It acts as a dedicated GPU that listens for commands over the network.
The Protocol: The ESP32 opens a TCP server on port 1337 (naturally). The router—or any device on the network—can send simple newline-terminated text commands to control the screen.
It’s incredibly simple to use. I can even test it manually using netcat from my laptop:
nc <ESP_IP> 1337
/clear
/color red
/print System Failure!
Under the Hood:
For the actual rendering, I used the ESP32Lib library by bitluni.
Thanks to my background developing a 32-bit Kernel, I was already familiar with how VGA signal generation works, which made bitluni’s library very intuitive to implement. It handles the heavy lifting of signal timing, while my code handles the TCP command parsing and text layout.
Supported Commands:
/clear– Wipes the screen./print [text]– Displays text on the monitor./color [name]– Changes text color (supports black, blue, green, red, etc.).
This architecture means the router doesn’t need to know how to draw pixels—it just sends text strings like “Hello World” and the ESP32 handles the rest.

IV - The I/O Expansion: Arduino Nano
Routers are great at networking, but terrible at interacting with hardware sensors. They simply lack the exposed pins.
To fix this, I integrated an Arduino Nano running my custom 3020-NANO firmware. It connects to the router via Serial (9600 baud) and listens for simple text commands. This effectively gives the router full GPIO control.
The Protocol: I designed a human-readable protocol so I can test it manually or script it easily.
- Basic I/O:
pinmode 13 output,write 13 high,read 13. - LCD Control: It even supports I²C LCD screens.
exec lcd init 0x27 16 2
exec lcd write Hello World
Now, if I want the router to display a status message or blink an alert LED, it just sends a string to the Nano, and the Nano executes the hardware operation.
V - The Interface: Keyboard Integration:
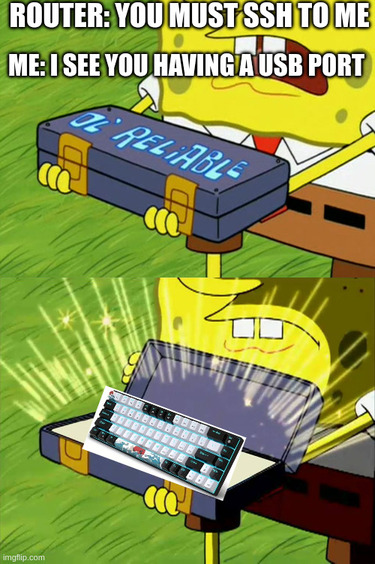
A computer isn’t complete without input, so I wanted to plug a standard USB keyboard into the router. But before I could write a single line of code, I hit a wall: Storage Space.
The TL-MR3020 has extremely limited internal flash memory. To make room for the USB HID (Human Interface Device) drivers needed for the keyboard, I had to rebuild my custom OpenWrt image again. I made the tough call to strip out the USB storage expansion utilities I used in the previous step to free up space for the keyboard drivers.
Once the OS could finally recognize the device, I wrote 3020-Keyboard, a C program that acts as the software glue between the hardware input and the network display.
- The Input: It reads raw keystrokes directly from the Linux event subsystem (
/dev/input/event0). - The Output: It splits the signal in two directions:
- To the Display: It connects to the ESP32 via TCP and automatically wraps text in the
/printcommand, so what I type appears instantly on the VGA screen. - To the Hardware: It forwards commands to the Nano via the router’s internal serial port (
/dev/ttyATH0).
This setup allows for live text mirroring and creates a genuine terminal experience using nothing but e-waste components.
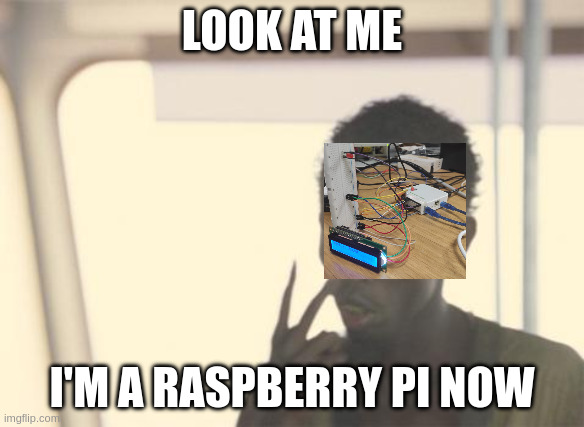
VI - The Result: taraaaa !
After linking all the components and writing the software needed for them to function together, the system finally came to life .
It is no longer just a router. It is a live terminal and IoT Hub. I can type commands on a mechanical keyboard, see the output on a VGA monitor, and control physical hardware—all coordinated by that tiny white box we started with .
VII - The Future
The hardware is done. The drivers are written. Now comes the fun part: giving it a purpose.
Whether it’s a smart home dashboard, a dedicated network traffic monitor, or a text-based adventure machine, the foundation is ready. This project proves that you don’t need the latest hardware to build something amazing—just a bit of creativity and the willingness to void a warranty… not like it got any warranty anyway hhhhhhhhhh
- Check out the code: The 3020 Project GitHub